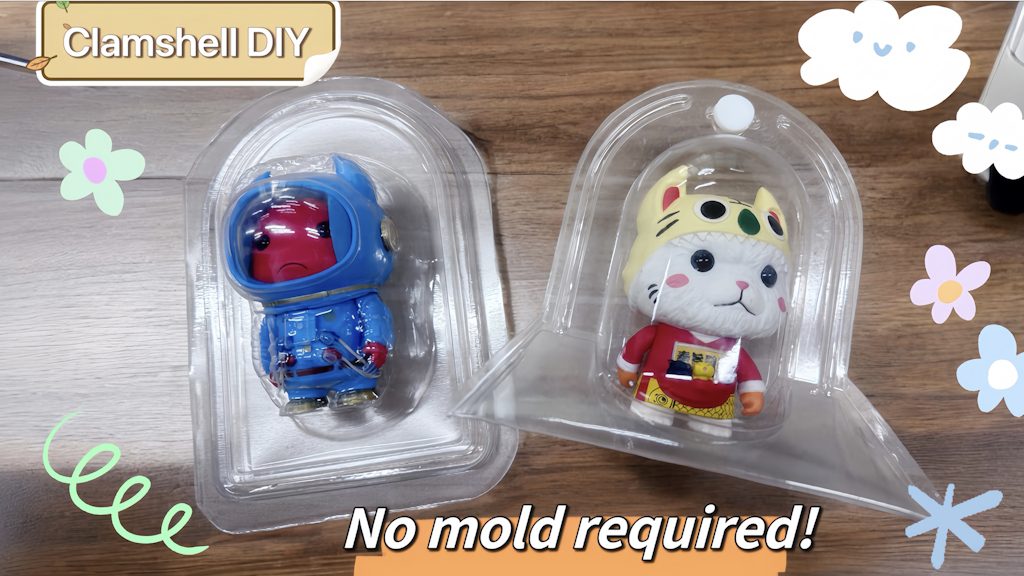
[FORMART Tutorial] DIY Blister Card Packaging Without a Mold – Make Your Own Transparent Figurine Shell
🛠 Tools & Materials
📌 Tools Required
- FORMART Smart Vacuum Forming Machine
- Laser Cutter (e.g., FLUX Beambox or other CO₂ laser models)
- 8mm Hole Punch
- 8mm Locking Pins (or UV Adhesive for PET)
🧵 Materials
- 3mm Wooden Board
- PET Sheet (recommended thickness: 0.3–0.5mm)
- Air-Dry Clay
📂 File Download
👉 Click here to download the DXF laser cutting file (Thingiverse)
🧩 Step-by-Step Instructions
Step 1: Laser Cut the Backing Plate
Load the DXF file into your laser cutter and cut the 3mm wood sheet. Assemble with glue or screws.


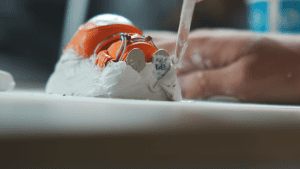
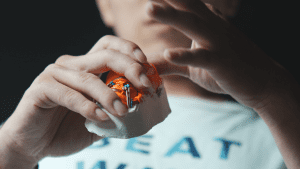
Step 2: Create the Mold Base
Use air-dry clay to fill the bottom of your figurine and shape it to create a release angle for demolding.
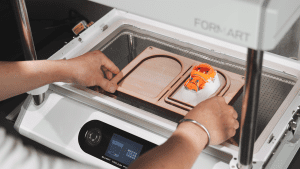
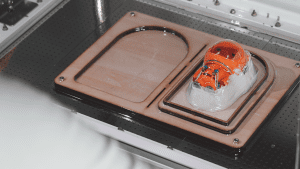
Step 3: Vacuum Form the PET Blister
Place the PET sheet on FORMART and vacuum form over your clay mold. Let it cool and trim along the edges.
Step 4: Fold & Assemble
Fold the blister in half, punch a hole, and secure it with an 8mm lock pin or UV adhesive for PET.


🎥 Tutorial Video: Complete DIY Process
Watch the full process from laser cutting to vacuum forming in the updated video below:
💡 Frequently Asked Questions
- Q: What thickness of PET should I use?
We recommend 0.3–0.5mm for easy forming and cutting. - Q: What if I don’t have a hole punch?
You can use PET-specific UV adhesive instead. - Q: Can I reuse the blister shell?
Yes! If undamaged, just clean it and reuse.
🚀 Conclusion: Start Your Custom Packaging Journey
From design to packaging, FORMART helps you go mold-free. Download the template and start your own blister packaging project today!
🛒 Ready to Start Your Blister Card Project?
With FORMART, you can bring your packaging ideas to life—whether you're a creator, maker, or educator.
Get started with free templates and build your first mold-free blister pack today!

No Comments