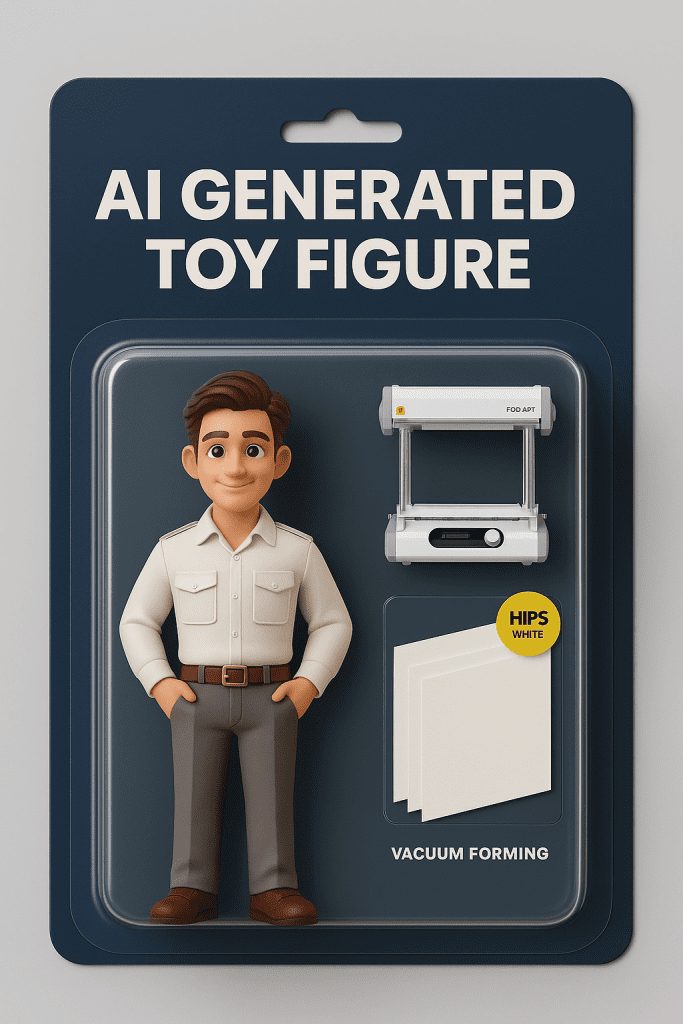
AI Figure Making Tutorial | Complete Guide to FORMART Molding and Packaging
Want to turn a character from a photo into a real figure? This tutorial walks you through each step from AI image generation, modeling, and 3D printing to FORMART blister packaging!

This article will guide you step by step on how to turn a character photo into a collectible figure using AI, 3D modeling, and FORMART vacuum forming. From image generation to blister packaging, the full process is explained.
👉 Related: DIY Blister Card Packaging Without a Mold
With just one photo and AI + 3D modeling, you can create a personalized figure. With the FORMART vacuum forming machine, you can also create custom blister packaging—bringing your creation to life as a professional collectible or product!
1️⃣ Full Workflow for Creating an AI Figure
❶ Create Your Character with ChatGPT:
Use ChatGPT to help generate design ideas. Prepare 1–3 front and side profile photos, and choose a style: chibi, realistic, or movie character.
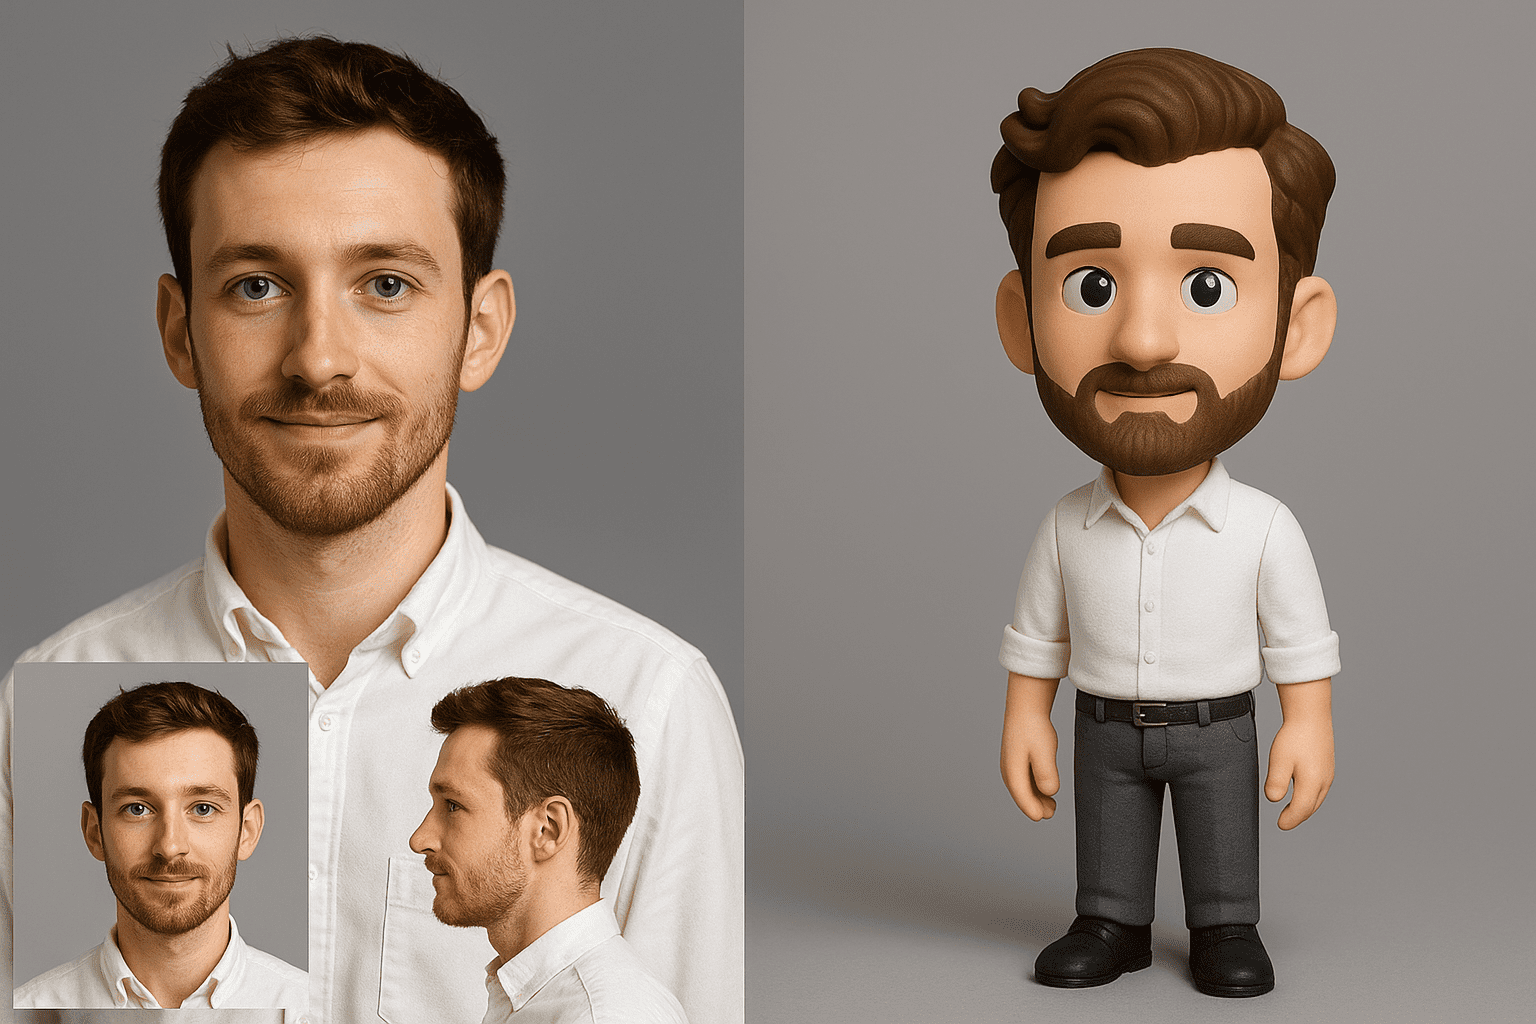
❷ Generate 3D Preview with MakerWorld:
- Go to MakerWorld > MakerLab > Image to 3D Model
- Upload a clear front-facing photo with a simple background.

- The system will show a "Generating Model" progress screen.
- Once done, you can preview and download the STL or 3MF file.
- You can then import it into Bambu Studio for coloring or direct 3D printing.


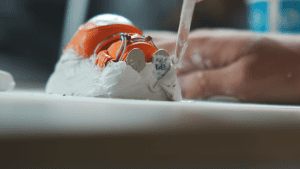
❸ 3D Printing and Finishing:
Use a Bambu Lab FDM printer. It is fast, accurate, and beginner-friendly.
- Use PLA or TPU filaments with a 0.2mm nozzle for fine detail.
- After printing, sand, cut, assemble, and paint your figure.
See the Bambu Lab print in action
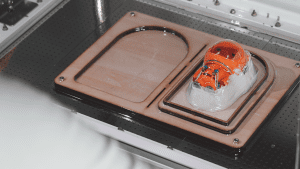
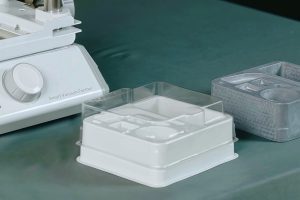
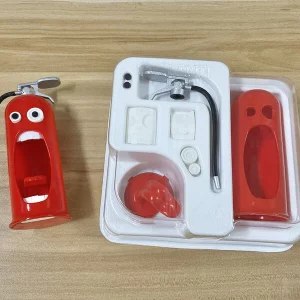
❹ FORMART Blister Packaging:
Use the FORMART vacuum forming machine with PET or HIPS sheets.
- Add a 3–5° draft angle using paper clay to avoid vacuum lock.
- Once formed, insert a back card and hang or display it.
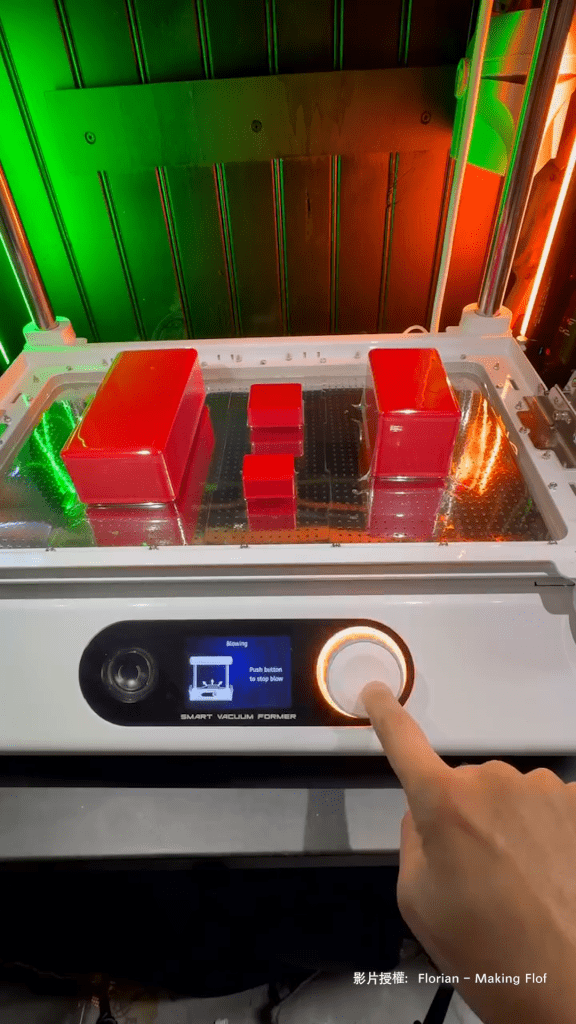

👉 See how Florian used FORMART to create display-ready packaging
2️⃣ Common Challenges and Solutions
| Challenge | Solution |
|---|---|
| Asymmetric AI image results | If the character sketch generated via ChatGPT shows facial imbalance or misaligned features, try regenerating multiple times or upload a clear front-facing photo and add a prompt like "standing facing camera" to improve symmetry. |
| Thin hair strands breaking | In MakerWorld, choose chibi-style or simplified hair models. Apply the "thickened shell" option before printing to avoid thin fragile prints. |
| Coloring mistakes | Use masking tape to separate painting layers—for example, apply skin tone first, then mask and airbrush hair. This helps avoid paint bleeding and brush marks. |
| Blister does not fit tightly | For vertical model edges, sculpt a 3–5° draft angle using paper clay around the base. In FORMART, tweak the vacuum time and heating temperature for better molding results. |
| Hard-to-remove supports | Use Bambu Lab's auto-detection for support structures. Set curved contact points and keep support density below 15% to make cleanup easier and preserve surface details. |
🧲 Vacuum Forming Issues and Fixes
- No vent holes in model: If the model sits too flush with the platform, trapped air can prevent full suction. Add small 0.5–1mm vents at the base or recessed areas to ensure full forming.
- Rough surface causing blister cracks: Before forming, use 800–1200 grit sandpaper to smooth the model and remove sharp edges or defects.
- Edges not forming completely: Preheat the FORMART thoroughly. Raise the model base 5–10mm so side areas are closer to the heating zone.
- Blister cracks or gets stuck when demolding: For vertical walls or concave designs, sculpt 3–5° draft angles with paper clay. Use a warm blower to soften the plastic before gently peeling it off.
- Plastic sticks to model: Spray a release agent (e.g. diluted Vaseline) on the surface before forming to ease demolding and avoid residue.
🧱 Clay-Sculpted Draft Angles
Draft angles help the blister shell release cleanly and prevent tearing. Apply 3–5° sloped clay around the base of your model before forming.
📌 Steps:
- Use lightweight clay that doesn't crack when dry
- Apply a 3–5° sloped rim around the outer base
- Let it dry completely before vacuum forming
- For PLA prints, apply clay directly to reshape tight edges
🎯 Tips:
- Best applied to feet, shield bottoms, or recessed areas like under ears
- Replicate into silicone molds if you plan to produce in bulk
This technique is beginner-friendly and doesn’t require re-editing STL files. It's an easy way to ensure better demolding for DIY creators.

👉 DIY Blister Packaging for Figures — No Mold Required
3️⃣ Upgrading for Commercial-Grade Quality
- Character setting cards: Add story, branding, QR codes for web or social profiles
- Swappable modules: Magnet-based interchangeable faces, hands, and props
- Dual-layer blister shells: For improved protection and better visual presentation
- FORMART memory presets: Save settings for repeated consistent packaging batches
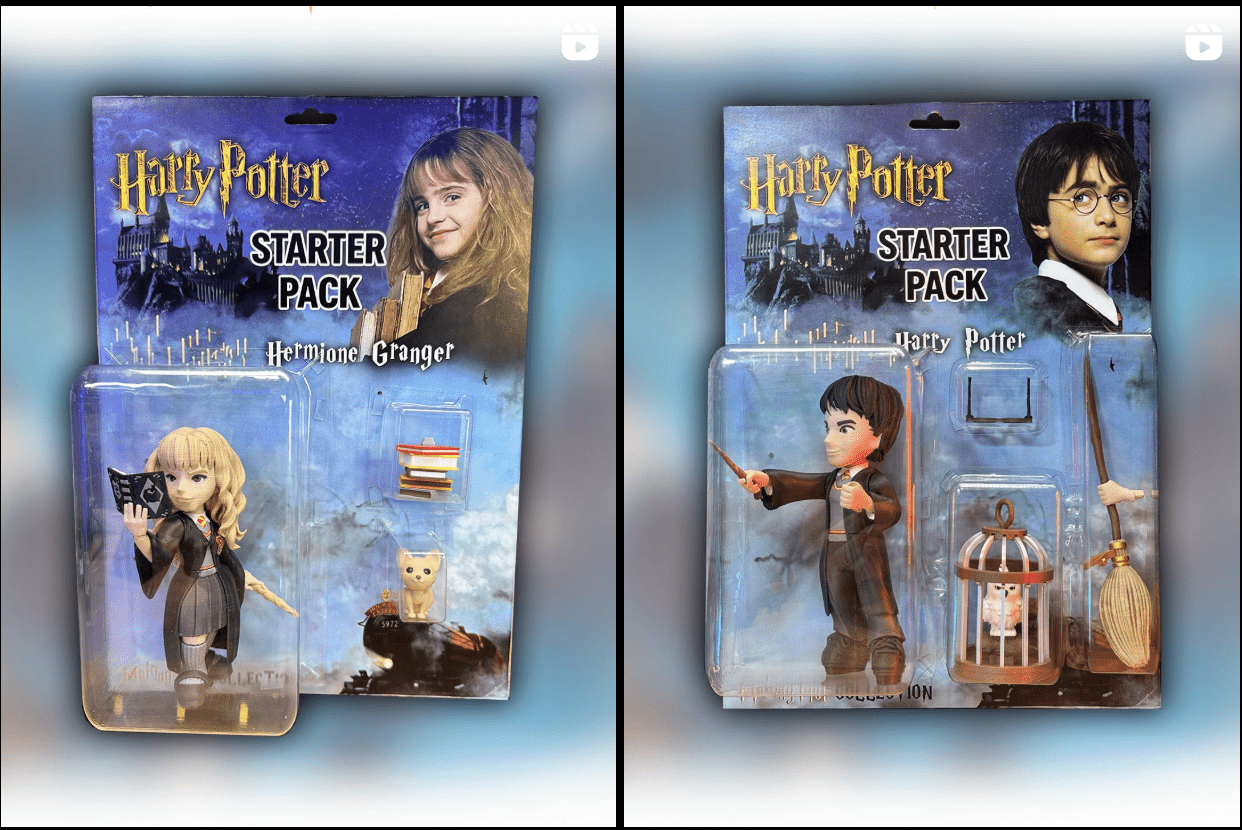
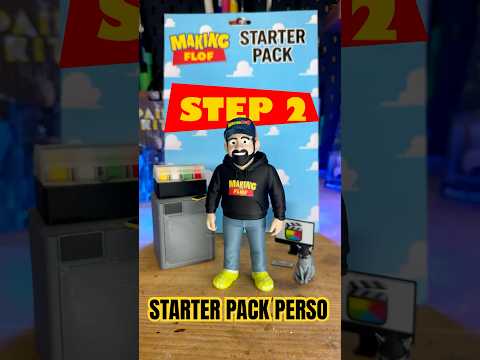
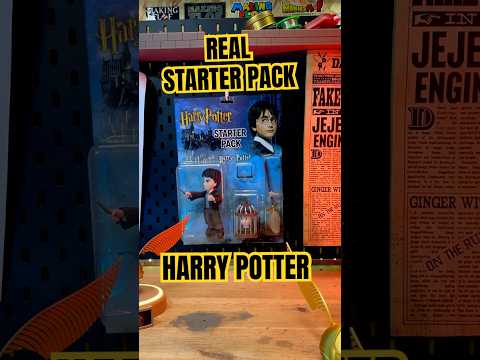
4️⃣ Case Study|Making Flof Harry Potter Figure Series
📦 FORMART Packaging Use Highlights
| Application | Benefit |
|---|---|
| Figure Collectibles | Showcases details and protects from dust |
| Creative Sales | Improves perceived quality and professionalism of the product |
| Gift Packaging | Customizable and personal—perfect for special occasions |
📌 Conclusion
You’ve now learned the complete workflow—from photo to AI sketch, to 3D modeling, printing, and FORMART blister packaging. Whether you're a designer, maker, or hobbyist, this process turns creativity into tangible results. Start creating today!
📣 Share and Follow Us
Did this guide inspire your next character creation?
📍 Leave a comment or share the design you’re planning!
📸 For more how-tos and showcases, follow us:

Ff