Using vacuum forming to make FPV RC tracks
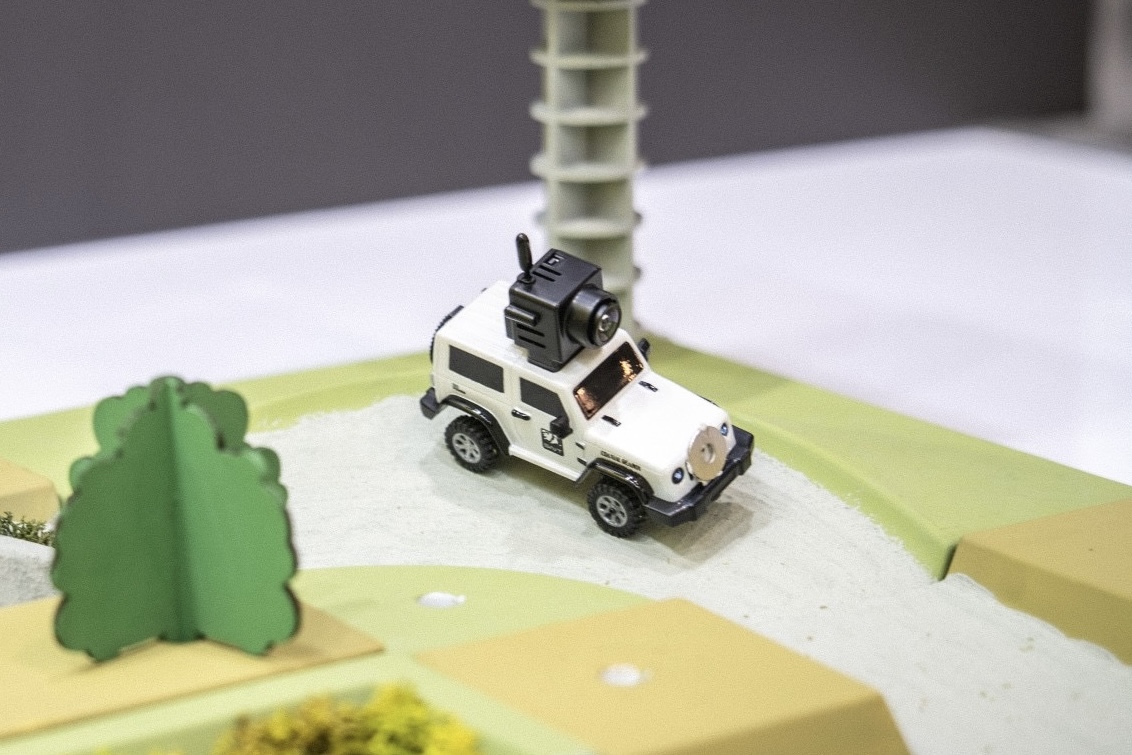
If you could wear glasses and freely navigate through a city of your own design, challenging each obstacle along the way, how therapeutic would that be! In this demonstration, we’ve specially designed a modular track set featuring 13 different terrain modules that you can mix and match as you please. Each module is equipped with assembly holes for accessories, allowing you to unleash your imagination and customize this unique RC tracks to look exactly the way you want.
Download Design Files
Machine of Use
Phrozen Mega 8KS、FORMART Smart Vacuum Former、FLUX Ador Color Printing Lazser Cutter
Material of Use
HIPS 1.0mm sheet、white glue(please dilute with water appropriately)、Grass meal and tree material package、White water-based cement paint、Toning masterbatch、Mr.BASE WHITE spary painting
The FPV Car
SNICLO 1/64 Micro FPV Off-Road
Procedure
- Print out the STL files(Please set 1.5mm shell thickness with 30% infill)
- Put the mold on forming bed and use HIPS 1.0mm sheet to form the shape
- The vacuum shells should be cleaned first to remove the release agent on the surface and prevent the paint from falling off
- Before coloring, spray a thin layer of MR.BASE WHITE spray painting to make it easier for the cement paint to adhere
- The cement paint is toned to the desired color and apply it
- After the cement paint is dry, apply white glue to the place where you want to stick the grass powder or bush material, and sprinkle the grass powder or stick on the bush
- Use the Ador color-print laser cutter to print and cut the accessory files, then assemble them and place them wherever you want to decorate on your RC tracks.


No Comments