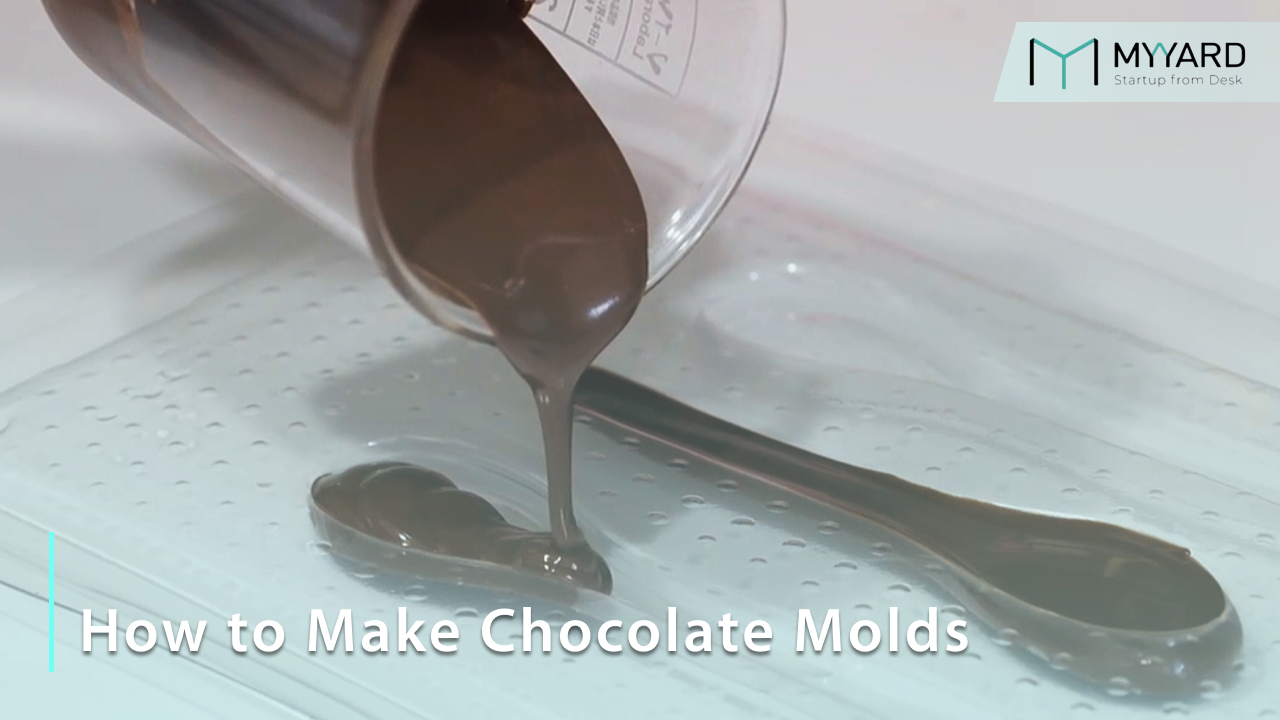
How to Make Chocolate with Molds: Guide & Mold Making Tips
Welcome to the delightful world of homemade chocolates, where the joy of crafting delectable treats knows no bounds. Whether it's a festive holiday event or simply spending quality time with your kids, creating chocolates at home is a cherished tradition.
In this article, we'll explore the art of chocolate making with molds, from how to use chocolate molds, learning various types of molds, and essential techniques for tempering chocolate, to tips for perfecting the demolding process, and so much more. Get ready for a chocolate-making journey filled with sweetness and satisfaction. Let's dive in!
1. What are Chocolate Molds?
Chocolate molds, coming in all shapes and sizes, are essential tools for making homemade chocolate. You pour melted chocolate into these molds to create unique chocolate shapes easily. These molds are made from materials like silicone, metal, plastic, or polycarbonate. They're versatile, reusable, and easy to use. When choosing molds, think about durability, temperature resistance, and if they stick to the chocolate.
Plus, since chocolates are perfect gifts for special occasions, using custom molds or bar molds for chocolates can make the result even more special. So, mold design is also something you should look at when choosing a chocolate mold. But of course, if you are a beginner, looking for molds with simple designs can help make the process easier.
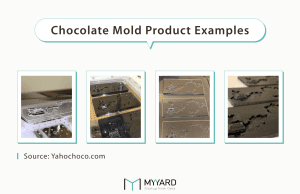
2. Types of Chocolate Molds
Now let’s look at some popular materials used to make chocolate molds, each with its own pros and cons. Choose the materials based on your recipe, and needs for your chocolate.
Silicone Molds
Cherished for their flexibility and ease of use, silicone molds for chocolate are a top choice among chocolatiers. Reusable and eco-friendly, they come in various shapes and designs, perfect for crafting custom chocolate molds. Made from food-grade silicone, they boast non-stick properties, ensuring easy chocolate release while demolding. With excellent temperature resistance and moisture resistance, they're ideal under both freezing and heating conditions, making them a versatile option for chocolate making and baking.
Metal Molds
Not as common these days, metal chocolate molds are famous for their durability, heat conductivity, and precision. Their rigid construction helps maintain the shape of the chocolate during cooling, resulting in flawless finished products. With their excellent heat conductivity, metal molds ensure quick and even chocolate settings, making them ideal for creating intricate designs with ease.
Polyethylene(PET) Molds
Polyethylene molds are ideal for beginners and enthusiasts due to their affordability and lightweight nature. They offer simplicity and convenience, making it easy to find specific shapes and experiment with intricate designs. Also, their translucent nature allows you to easily monitor the chocolate's state, reducing uncertain guesswork during the making process.
Polycarbonate(PC) Molds
Favored by many professionals, polycarbonate molds are tough and can give chocolates a shiny finish. They are great for detailed designs without creating uneven chocolate texture. Unlike plastic molds, they're heavier and stronger, so they keep chocolates looking sharp and intact.
3. Step-by-Step Guide: Making Chocolates with Molds
From buying chocolate and selecting the perfect mold to the final demolding process, we’ll walk you through each crucial step to ensure you achieve professional results. Let’s begin!
Step 1. Purchase Chocolate and Ingredients
To kick off your chocolate-making adventure, start by gathering all the essential tools and ingredients. The first thing you'll need is chocolate, and your choice will significantly influence your results.
You have two primary options: couverture chocolate and compound chocolate. Couverture chocolate, known for its high cocoa butter content, is perfect for molding and tempering. It delivers a superior taste and texture but requires more care during preparation, including tempering using a double boiler. This type is often preferred by professionals for its quality.
On the other hand, compound chocolate, which includes vegetable fats instead of cocoa butter, offers a more user-friendly approach. It’s commonly found in chocolate bars and chips and is much easier to work with. You can melt it in the microwave, making it ideal for beginners or for those looking for a quick and simple chocolate fix. Although it’s less expensive and simpler to use, it doesn’t quite match the richness and smoothness of couverture chocolate.
For beginners, starting with compound chocolate is a smart choice due to its forgiving nature. As you gain confidence and skill, you might want to explore couverture chocolate to elevate your creations to a more refined level. Here are some of the best couverture chocolates for melting and using in molds:
- Callebaut Belgian Dark Couverture Chocolate – Known for its rich flavor and smooth finish, it's ideal for molding due to its high cocoa butter content.
- Ghirardelli Melting Wafers – Available in dark and white varieties, these wafers melt smoothly without requiring tempering.
- Merckens Chocolate Melting Wafers – Popular for its easy melting and creamy texture, perfect for candy making.
- Wilton Candy Melts – Versatile and available in various colors and flavors, great for both beginners and professionals.
Step 2. Get Tools Ready
Once you've selected your chocolate, you’ll need to gather additional tools to complete your chocolate-making setup. Here is the list:
Molded Chocolate Tools
- Several chocolate molds
- Heatproof bowl for melting chocolate
- Spatula or spoon for stirring
- Kitchen thermometer for tempering (if needed)
For chocolate molds, there are a few key qualities to keep in mind when you are buying. Choose molds that are both durable and flexible, as they’ll hold up well over time and make the molding process easier. Look for molds that can handle various temperatures to suit different types of chocolate and cooling methods. Nonstick surfaces are essential for easy release and a clean finish. If you’re new to chocolate making, starting with simple shapes can help you achieve great results with less hassle.
Before actually using the mold, ensure they are clean and free of any dust, fingerprints, or residue from previously used chocolate to prevent sticking when demolding. Wash them with warm, soapy water, then dry thoroughly before use. If your molds have intricate designs or fine details, consider lightly greasing them with cocoa butter or non-stick cooking spray to facilitate the easy release of the chocolates.

Source: Freepik
Step 3. Tempering/Melting Chocolate for Molds
The next step is to melt the chocolate to be poured into the molds. Here we need to explain the difference between melting and tempering.
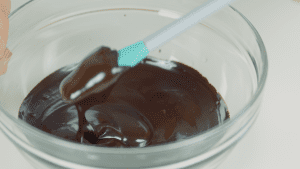
Melting
Melting chocolate simply involves heating it until it reaches a liquid state, ready for molding or dipping. The goal of melting chocolate is to achieve a smooth, pourable consistency without burning or overheating it.
To melt the chocolate evenly or prevent overheating, make sure to chop the chocolate into small, uniform pieces and use a gentle heat source. If you’re using a microwave, turning to low power mode will be sufficient to melt the chocolate slowly and evenly. Also, ensure the utensil has a completely dry surface since even just a small amount of water can make chocolate seize.
Tempering
Tempering chocolate, on the other hand, is a more precise process that involves heating and cooling chocolate to specific temperatures to stabilize its cocoa butter crystals. This ensures that the chocolate sets properly, resulting in a glossy finish and a crisp snap when bitten into. Tempering is crucial for creating professional-looking chocolates with a smooth texture and good shelf life. Let’s learn more about how to temper:

Source: Freepik
The double boiler (seeding) method involves melting two-thirds of the chocolate, then gradually adding the remaining one-third until smooth. Once it is done, raise the temperature to the working level.
With the marble tabletop method, pour two-thirds of the melted chocolate onto a slab, stir until thickened, then add the rest, mixing until uniform.
For the microwave method, microwave two-thirds of the chocolate in intervals, stirring until nearly melted, then mix with the reserved chocolate until smooth.
Just like regular melting, chop the chocolate into uniform small pieces before tempering. Also, it is crucial to keep track of the temperature, ensuring it reaches the specific temperatures required for dark, milk, or white chocolate. To check if the chocolate is properly tempered, spread a small amount thinly on parchment paper and allow it to set at room temperature. It should have a glossy finish and snap cleanly when broken.
Step 4. Pouring the Chocolate
To ensure even distribution and avoid messy spills, consider using a piping bag or a squeeze bottle. Fill each mold cavity carefully, leaving a little room at the top to avoid overflow. Once every part of the mold is filled, gently tap the mold on a flat surface. This helps free up any air bubbles trapped within the chocolate. This step also helps prevent the formation of dull craters in your final product.

For layered chocolates or those featuring special chocolate fillings, this is your moment. Before the chocolate sets completely, use your piping bag or a spoon to add contrasting layers of colored chocolate, rich ganache, or creamy caramel. Or you want to put in exciting surprises like chopped nuts, dried fruit, or even bits of other chocolates to make chocolate with chocolate inside for an extra textural and flavorful dimension. With a little creativity, you can transform the results into a canvas for endless delicious possibilities.
Step 5. Cooling
To set your chocolates, place the mold on a level surface inside the fridge for a minimum of 15-20 minutes.
Avoid checking on them during the cooling, as allowing the chocolate to cool undisturbed ensures a clean and crisp finish. Don’t leave the chocolates in the fridge for too long, as it can cause water droplets to form on the surface, potentially ruining the glossy finish you want.
Step 6. Remove Chocolate from the Chocolate Mold
Once it is properly cooled and solidified, remove the chocolate from the fridge. Properly cooled chocolates should release easily; if not, then gently flex the mold, and tap it upside down to release the chocolate from the mold more easily. Remember to place a towel beneath. Finally, use a paper towel to remove moisture from the pieces.
For demolding, temperature control is always crucial for both molds and chocolate. Whether the mold is too cold or too hot, it can make the chocolate cling stubbornly or even crack easily. Irregular temperatures of molds can lead to uneven solidification of the chocolate or even result in the chocolate losing its temper. For chocolate, proper tempering is essential for a smooth demolding experience since untempered chocolate can be sticky and difficult to remove from the mold.
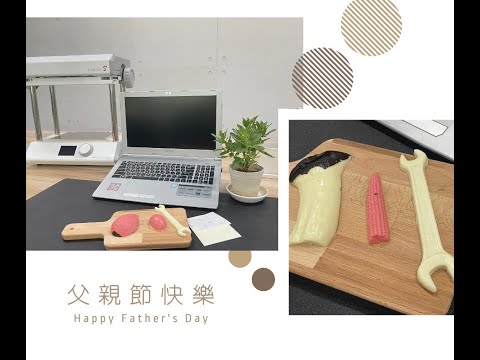
4. How to Make Custom Chocolate Molds With MYYARD Vacuum Former
Are you tired of using the same old commercial molds for your chocolates? It’s time to unleash your creativity and design custom chocolate molds with the MYYARD FORMART Smart Vacuum Former! Imagine creating chocolates with personalized chocolate mold in the shape of initials, symbols, or heartfelt messages – perfect for special occasions like birthdays or anniversaries.
With the MYYARD FORMART Smart Vacuum Former, making personalized chocolates is now easier, faster, and more fun, turning every chocolate-making session into a unique experience.
Let’s delve into the details steps of how to use our vacuum former to make custom molds for your chocolates!
- Choose Your Mold Objects:
Begin by selecting the objects you want to use to create your chocolate molds. This could be small toys, figurines, geometric shapes, or any item with a solid form. Ensure that each object is clean, smooth, and safe for molding, as this will help produce high-quality results. - Select the Material:
For your mold, opt for a vacuum-forming material like LDPE (Low-Density Polyethylene), known for its flexibility and durability. For more intricate designs, install a fine board on the vacuum-forming machine to capture finer details with precision. - Position the Objects:
Arrange your selected objects securely on the vacuum-forming machine’s platform. Make sure they are properly positioned and won’t move during the molding process, as stability is crucial for accurate molding. - Heat the Vacuum Forming Machine:
Set your vacuum-forming machine to the correct material type and initiate the heating process. Wait until the machine reaches the right temperature to ensure the plastic sheet will be perfectly pliable for shaping. - Vacuum Form the Shapes:
Once the plastic is heated, lower the forming sheet onto your objects. The vacuum will pull the heated plastic tightly over the objects, capturing every curve and contour to create an exact mold of the shapes beneath. - Remove the Mold:
After the vacuum process is complete, carefully remove the newly formed mold from the machine. Be cautious, as the mold may still be warm. Allow it to cool fully before using it for your chocolate creations.
The FORMART Smart Vacuum Former takes custom mold-making to a new level with its industrial-grade vacuum pump, compact design, and two suction modes for user-friendly flexibility. Its automatic mold-releasing function simplifies demolding, allowing you to create molds in minutes without the usual hassle. Plus, its flow control technology ensures every detail is captured, making it perfect for both beginners and pros.
Unlock your creativity and transform the way you make chocolates. With MYYARD's FORMART Smart Vacuum Former, you can bring any design to life quickly, efficiently, and with precision. Try it today and start making custom chocolate molds that will wow everyone!
5. Create Your Own Chocolate Masterpieces with Custom Molds from FORMART
Crafting chocolate at home with molds is a delightful and rewarding experience. From preparing the perfect chocolate to pouring it into molds, cooling, and demolding, each step offers an opportunity for creativity and experimentation. With the right tools and techniques, anyone can master the art of chocolate making, turning simple ingredients into delectable treats that delight the senses.
Enjoy the ease and speed of creating unique chocolate shapes with custom molds, tailored perfectly to your taste and imagination. With MY YARD’s FORMART Smart Vacuum Formers, making homemade chocolate molds has never been simpler. Explore the endless creative possibilities today and bring your chocolate-making dreams to life and to the next level! Contact us now to discover the joy of crafting chocolate with custom molds.
Related Articles Suggested for You:

Have you ever considered using unconventional materials for chocolate molds, such as ice cube trays or silicone baking molds, to create unique and eye-catching chocolate creations?
This blog post offers a detailed guide on making chocolate molds, covering essential materials and techniques. The step-by-step instructions are clear and practical, providing valuable information for both beginners and experienced confectioners. The emphasis on choosing the right mold material and maintaining quality is particularly useful for achieving professional results.
From ZetarVac